

This practical life activity is designed for children between the age of 3 and 6 to guide them on how to install a butterfly screw.
Learning to use the fixed key is an exercise that teaches the child the correct way to do some household chores. Additionally, it helps to stimulate a child’s imagination through the activity of assembling, disassembling, and building.
In our previous video lesson, we learned how to use a screwdriver to tighten and loosen the screws. In this video, we will learn how to use butterfly screws.
What are Butterfly Screws?
Butterfly screws are light-duty, fasteners for hanging objects on hollow walls such as drywall. It is a wing-shaped screw like a butterfly, making it easy to hold and fastened up in the bolt. It is also known as toggle bolts, molly bolts, or butterfly anchors.
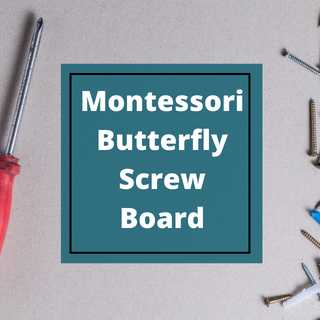
Montessori Butterfly Screws Board
The set contains a wooden block and six bolts that screw into permanently fixed, threaded receptacles. Additionally, the board has two insets; one long to keep the fixed key and one for holding the bolts once they are removed. The butterfly screw is a screw made of a chrome-plated alloy, winged at the top like a butterfly. It features both open-and-closed sockets for engaging the bolts and helps children to learn how to use butterfly screws by removing and re-inserting them into the fixed bolts.
Materials Required the Butterfly Screws Board
- A small tray
- A board with tapped holes.
- 6 butterfly screws of the proper size for the holes.
Prerequisites of Butterfly Screws Activity
A child must be familiar with the nut and bolt activity.
Benefits of Introducing Montessori Butterfly Screws Activity
- It promotes hands-on learning of basic skills required to do daily household chores.
- It strengthens the muscles of the wrist and fingers.
- It develops order and concentration.
- It develops coordination and independence.
- It promotes bilateral coordination (both hands working together).
- It promotes visual discrimination and problem-solving skills.
How to Introduce the Butterfly Screws Activity to the Child?
In this activity, the child will learn to use butterfly screws.
- Ask the child to bring the butterfly screws activity tray to the table.
- Familiarize the child with all objects that are on the tray. This also helps to develop the vocabulary of the child.
- Unscrew all the butterfly screws and place them in the smaller container of the tray.
- Using your hand, slowly and clearly, insert a butterfly screw into a hole.
- As shown in the video, tighten each butterfly screw using your hands.
- Tell the child, this is how we tighten the butterfly screws.
- Repeat steps 4-6 until closing all the screws.
- Once all screws are tight, loosen up each screw using your hands and place them again in the tray.
- Tell the child, this is how we unscrew the butterfly screws.
- Place the tools on the board and invite the child to try the activity independently.
The turning of the wrist when using the butterfly screws is of particular note: there are many fine motor skill activities, but few require the wrist to be used like this.
Watch the video to show the child how to use butterfly screws.
Related Video Resources :
To watch more Montessori practical life lessons, click here.
Video created by: Alejandra Jurado
Tags
- English
- Practical Life
- primary level